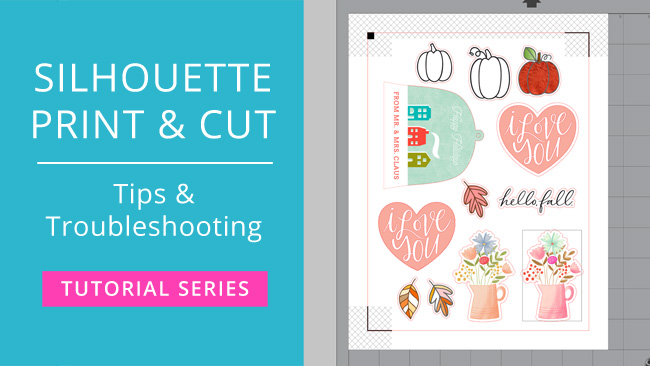
In this final (planned) video in the Silhouette Print & Cut tutorial series, I’ll walk you through the process of printing and cutting step-by-step. Along the way, I’ll share some tips and pointers that will help you avoid some of the common issues that can cause problems with print & cut, and at the end of the video I’ll cover some more advanced troubleshooting tips.
Check out the video below for a step-by-step walkthrough for print & cut on the Silhouette digital die cutting machine:
Supplies Used in This Project
The following supply list contains affiliate links. I make a small commission if you purchase through these links, and I really appreciate it if you do!
– Cameo 3 Electronic Cutting Tool
– Silhouette Studio, Designer Edition
– Neenah Solar White 80lb. Cardstock
– Silhouette Printable Clear Sticker Paper
– Brother HLL8360CDW Color Laser Printer
Also Mentioned in the Video
Calibrating the Silhouette for Proper Print & Cut Registration Alignment

