When you create foil elements using the heat activated method of running a laser printed piece through a Minc, a heat laminator, or other type of hot foiling machine, you need a nice, smooth surface, one that will not allow too much of the laser printer toner to absorb into the paper. This is why it’s difficult to get great diy hot foiling results with uncoated and textured papers, like watercolor paper and kraft cardstock.
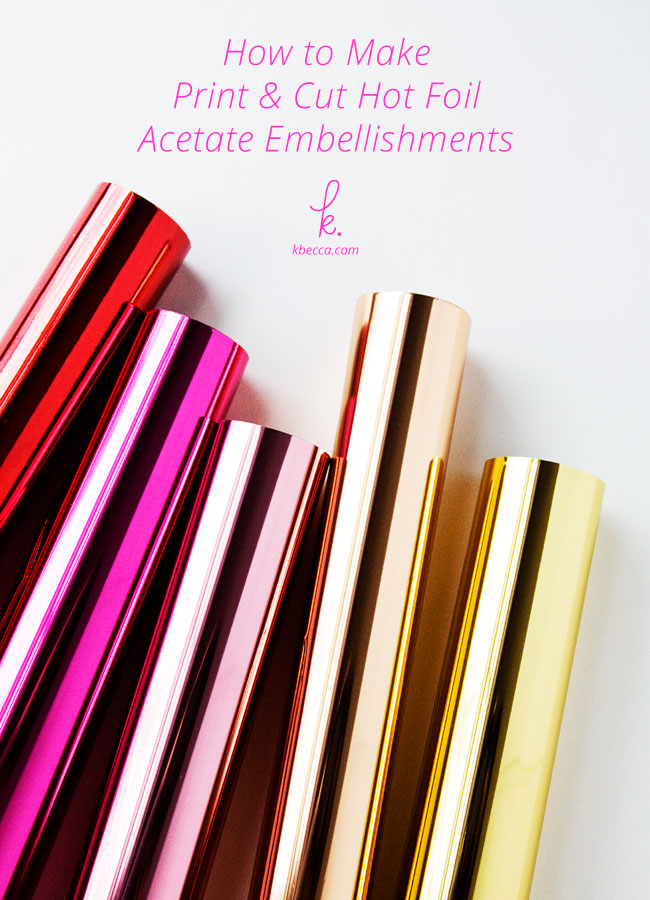
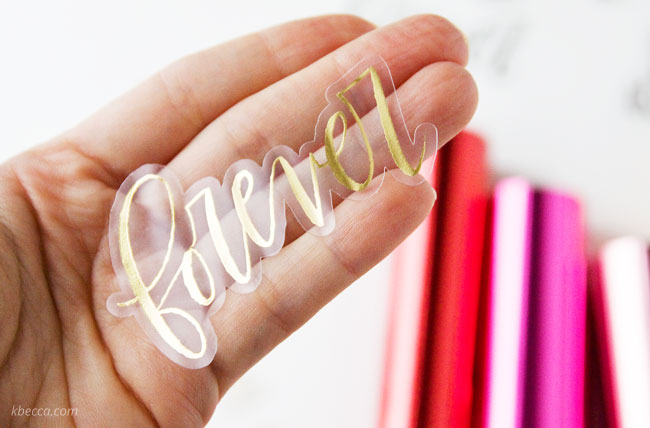
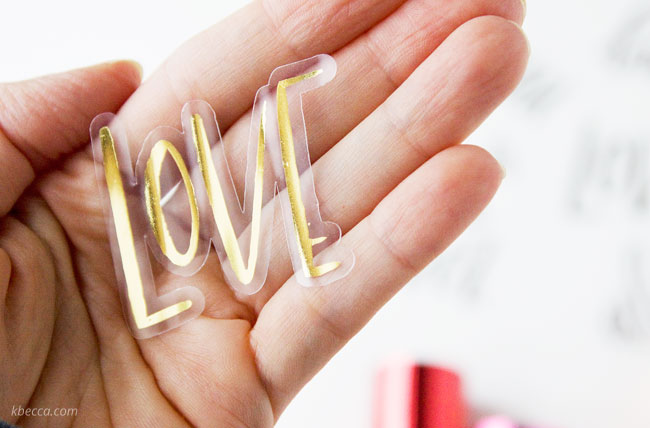
Acetate is an ideal surface for diy hot foiling. It’s slick, glossy, and non-porous, so the laser printer toner sits right on top of the surface, ready to bond with the foil as it’s run through your foiling machine. In the video below, I’ll show you how to hot foil acetate and cut it using a digital die cutting machine (I use a Silhouette Cameo) to create some very cool, foil embellishments that you can use for cardmaking, scrapbooking, and many other types of craft projects.
I’ve been die cutting acetate for years, but this was the first time that I attempted a print and cut project on acetate, and I initially ran into some challenges with the registration process because of the shiny, reflective surface of the acetate, but I figured out a technique that has worked perfectly every time I’ve tried it, and it doesn’t require much effort at all.
My Technique : Open a blank document in Silhouette Studio, activate the registration marks for your die cutting machine (just like you’d do for a regular print & cut project), and print the page with just the registration marks. After the page is printed, cut out each of the registration marks, trimming the cut pieces where necessary so the paper doesn’t overlap any of the areas on the acetate that will be die cut.
Then, hold the acetate up to a lamp, with the paper registration mark (with double-sided tape on the back of the paper) held over it, so the light shines through both and allows you to line them up perfectly. Tape the paper registration mark in place over the corresponding registration mark on the acetate and repeat the process for each of the registration marks. You can also use a window (if it’s daylight) or a lightbox to line up the registration marks. Once all of the paper registration marks are taped in place, register and die cut the acetate with your die cutting machine.
A Note About Hot Off the Press Heat Resistant Acetate : This is a craft supply that many of us have in our stash, and I thought that it might work well for hot foiling since it’s heat resistant. Unfortunately, when I printed on it, lines of toner came off of the printed areas as it was being run through the printer and remelted around the printed areas. You can see what I’m talking about in the video below, starting at around the 1:50 mark.
Check out the video to see the step-by-step process for creating awesome hot foil acetate embellishments:
Supplies Used in This Project
The following supply list contains affiliate links. I make a small commission if you purchase through these links, and I really appreciate it if you do!
AMZ = Amazon.com SBK = Scrapbook.com DKB = Dick Blick SSS = Simon Says Stamp
Love Always SVG Digital Stamps + Border Die Cuts
C-Line Transparency Film for Plain Paper/Laser Printers
Heidi Swapp Minc Light Pink Reactive Foil ( AMZ // SBK )
Heidi Swapp Minc Foil Applicator 12″ ( AMZ // SBK )
Silhouette Cameo ( AMZ // SBK )
a laser printer
plain printer paper
double-sided tape
craft scissors