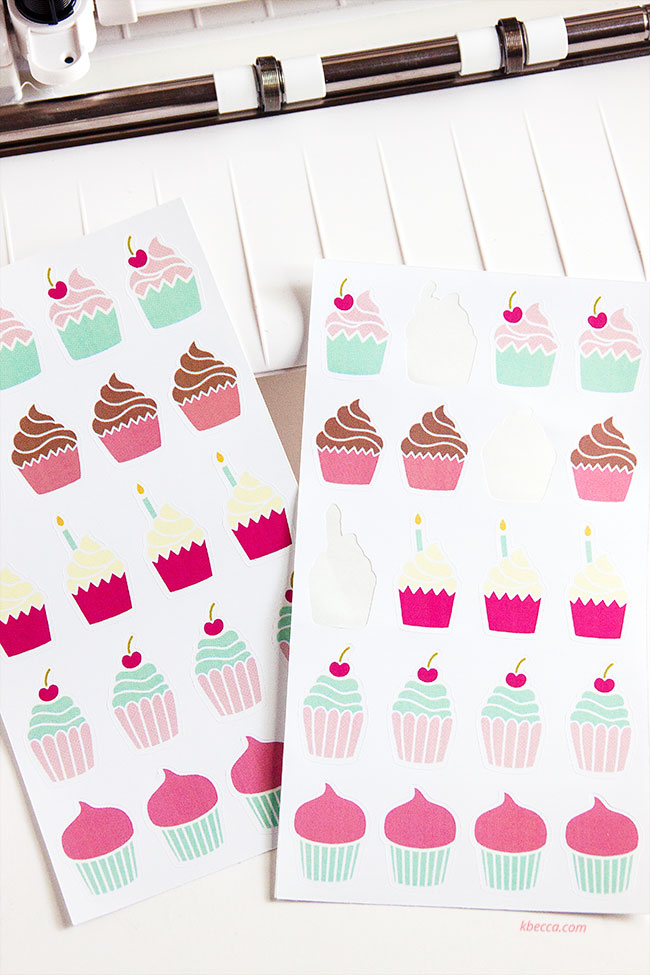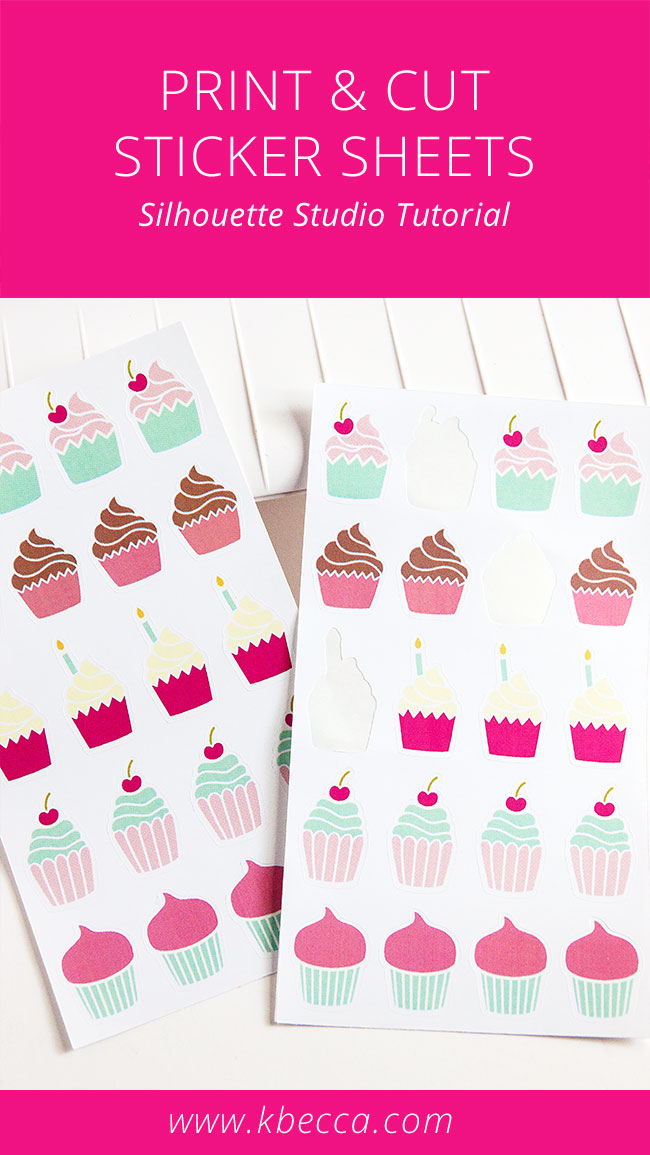
I’m a sticker lover from way back in the day when scratch and sniffs were all the rage, and I still love ’em to bits. Electronic die cutting machines allow you to create as many of your own, custom sticker designs as you’d like, and in this video I’ll show you a step-by-step walkthrough for designing your own print & cut sticker sheets using Silhouette Studio and a Silhouette Cameo.
I created these stickers from the I Heart Cupcakes dingbat font, which includes a sticker style especially designed for stickers and vinyl designs with borders. So, sticker borders are pretty much already built in to this font, which is pretty darn cool! But, if you are using a dingbat font, regular font, or clip art to create your stickers, this video will still be helpful for you if you’d like to make print & cut sticker sheets. The only change would be that, instead of just typing in the sticker shape that corresponds to the image, you’ll use Silhouette Studio’s Offset feature to create stamp borders from your original image.
In this video tutorial, I’ll cover Silhouette Studio features like Release Compound Paths, the Eye Dropper Tool (available in Designer Edition and above), and Cut by Color, so if you’re wondering about what you can do with these tools and features, be sure to check out the video. Besides the Eye Dropper tool, which is only available in Silhouette Studio Designer Edition and above, the other tools and features that I use are also available in the Basic Edition (free).
Check out the video tutorial for a step-by-step walkthrough for designing print & cut sticker sheets in Silhouette Studio:
Supplies Used in This Project
The following supply list contains affiliate links. I make a small commission if you purchase through these links, and I really appreciate it if you do!
– I Heart Cupcakes Dingbat Font
– Silhouette Cameo 3 Electronic Cutting Tool
– Silhouette Studio, Designer Edition
– Online Labels Glossy Laser Sticker Paper
– Brother HLL8360CDW Color Laser Printer


