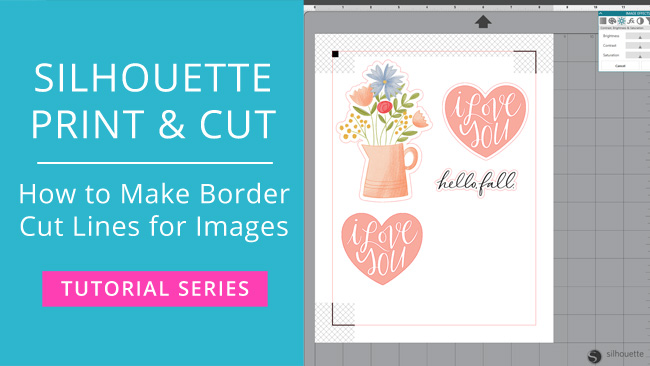
When you’re working with clipart and images for print & cut, you’re often dealing with just an image and no cut lines. In the video below, I’ll show you how to create custom border cut lines for different types of images, including raster (PNG graphics with transparent backgrounds) and vector (SVG files that you want to transform from cut files to print & cut files).
In addition to the images that I use in the video, you can also make cut lines for any type of print & cut friendly raster and vector graphics that you can work with in Silhouette Studio. The trace and offset features in Silhouette Studio are your best friends when it comes to making cut lines for images, and they each offer different styles and options so you can create and customize cut lines for many, many types of images, including images with backgrounds that are a color besides white. You may have to play around and experiment with the various trace and offset options to get good cut line results for more challenging graphics, but in most instances it’s doable.
This video is part of my Silhouette Print & Cut Tutorial video series.
Check out the video below for a step-by-step tutorial on creating border cut lines for images in Silhouette Studio: