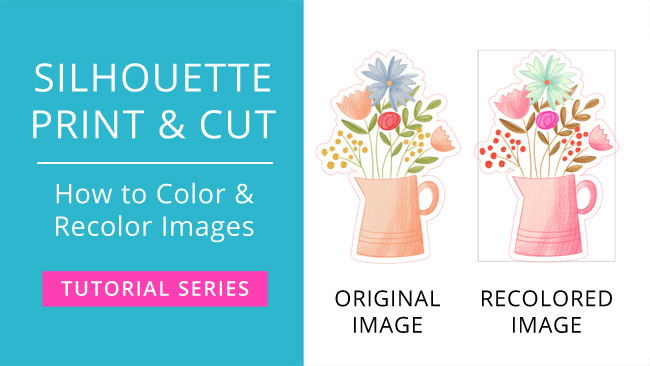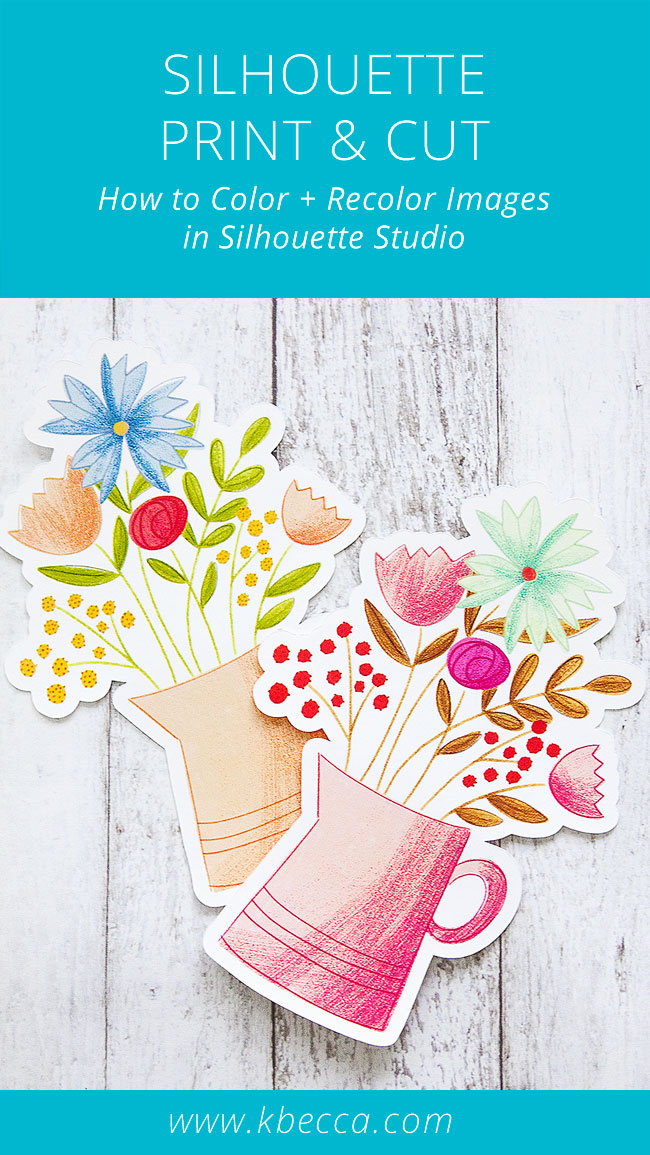
When you’re working with images for print & cut, you’ll often want to either add color (if it’s an SVG or another vector file) or recolor the image (if it’s a raster file, like a PNG or JPG), and in the video below I’ll show you how to color & recolor different types of images for print & cut using the tools and features available in Silhouette Studio.
Here’s a little summary:
For Vector Files (including file types SVG // STUDIO // GSD // DXF // PDF // AI // EPS // CDR)
Use the Fill Color Panel to color and recolor images. Options include:
- Fill Color : allows you to fill the image with a solid color, either from the default color palette (click the color square for the color you’d like to use while the image is selected) or by choosing a custom color by inputting the HSL values (hue, saturation, light), the RGB values (red, green, blue), or the hex code (a 6 character alphanumeric code for the color).
- Gradient Fill : the middle icon at the top of the Fill Color Panel, which includes default gradient fill options, as well as advanced options so you can customize your gradient.
- Pattern Fill : the right icon at the top of the Fill Color Panel, which allows you to choose from a default set of pattern fills. This sub-panel also includes options for rotating, scaling, and panning the pattern. You can use your own pattern fills by either dragging and dropping a pattern from your computer or by clicking on the fill pattern after loading it into your Silhouette library. Note : because pattern fills are raster files, their size and resolution is limited, so I recommend not scaling the file up too much because, if you do, it could print out fuzzy and low quality.
In addition, if you fill a vector image with a gradient fill or a pattern fill, you can use the Image Effects Panel (the little half-filled circle icon on the far right menu in Silhouette Studio 4) to adjust and recolor the fills.
For Raster Files (including file types PNG // JPG // GIF // BMP // TIFF)
Use the Image Effects Panel to adjust and recolor raster files. The Image Effects Panel offers several very useful options for adjusting the color on raster images in Silhouette Studio:
- Grey Shade : this option will add a grey tone to your image and, if you slide the slider the whole way to the right, you can transform your image to greyscale.
- Colorize* : using the Hue slider in this option will allow you to completely change the color scheme of your image. Slide the slider around to see all of the different options. Many won’t look great, but you’ll usually hit upon several color schemes that will work well as you slide the slider around.
- Contrast, Brightness & Saturation* : if your image is printing out on the dull side, these sliders can be a great help. Increasing the Contrast slider can help more details in your image stand out when printed. Increasing the Brightness slider can brighten up your image, and increasing the Saturation slider makes the colors in your image more vivid and bright.
- Gamma : this option controls lightness and intensity. Sliding the slider to the left will darken and intensify your image, while sliding it to the right will make the image lighter and softer.
- Invert : this option inverts the colors in your image to the colors opposite them on the color wheel. For example, reds and pinks will change to greens and blues will change to oranges. Sliding the slider to 100 will fully invert the colors. I don’t really use this option because the results aren’t typically great looking.
- Sepia* : this option adds a sepia tone (a warm, yellow-ish brown) to your images. It’s great if you want to make your images to have an aged or vintage look.
- Tint* : this option is very useful if your image has a color cast. Use the red, green, and blue sliders to either remove a color cast or to add a tint to an image. Subtle adjustments are best. I like adding a subtle bit of red to warm and brighten an image that’s too blue or has a blue-ish tint, and I also like to use the blue slider to either warm up an image that’s too cool or has a blue-ish tint (slide it to the left to add a warm, yellow tint) or to cool it off if it’s too yellow / orange (slide it to the right to add a cool, blue tint).
- Shadow : this option doesn’t really work with raster images because Silhouette Studio registers the bounding box on a raster image as the image border, but it is useful for adding shadows to vector images.
* denotes my favorite and most used options in the Image Effects Panel
Check out the video to see all of these options in action:


Hello,
I’ve seen this link to change the page setup in the active cut area:
https://www.silhouetteschoolblog.com/2019/04/change-color-silhouette-studio-work-area.html
Is there a way I can save these changes as a default so I don’t have to set it up every time I create a design
Many thanks in advance,
Nathan