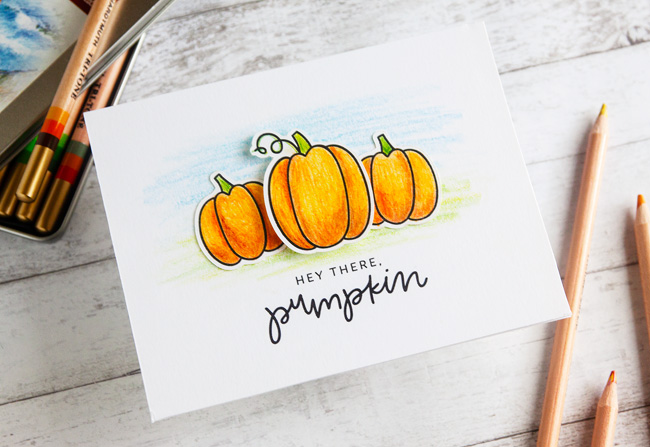
A little while back, I received a set of Koh-I-Noor Tri-Tone Pencils as a gift, and I wasn’t really sure what to do with them at first. But once I started using them, I really liked the dynamic, impressionist-style look that they give to projects. In other words, I think they’re pretty cool!
If you want to have complete control over your colored pencils, then this probably isn’t the set for you, but I like the element of surprise that comes along with the Tri-Tone pencils and think that they would make a great set for beginners because they allow you to more quickly and easily create color variation and depth of color, both of which can be a big challenge when you’re first starting out with colored pencils.
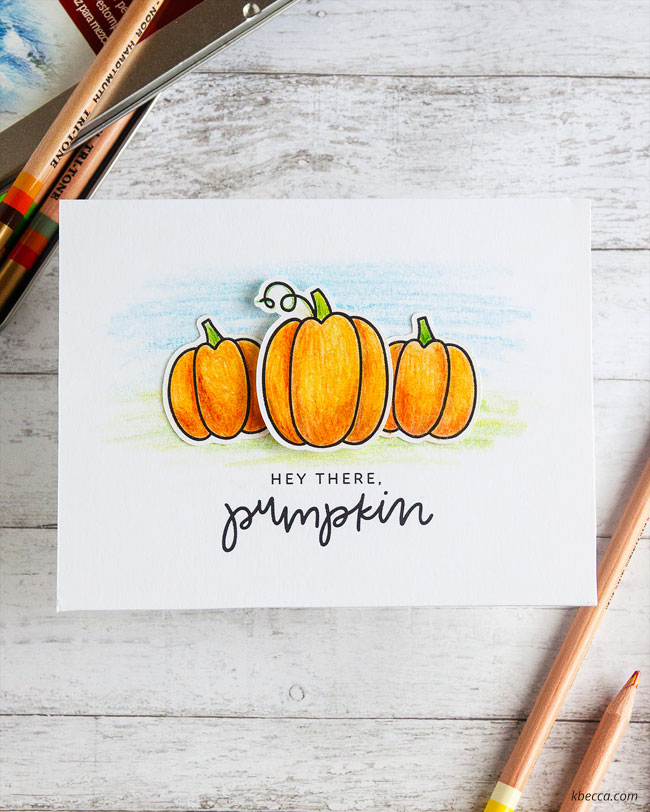
Layering color is absolutely key when it comes to colored pencils – and many different coloring mediums, actually – so I started off by laying down a few very light layers of color, gradually building up the color and pressing harder to lay down deeper color as I worked. After I was finished coloring the pumpkins, I colored a very loose sky and grass background on the card base, also using the Koh-I-Noor Tri-Tone pencils.
I made this easy and colorful card using the Silhouette print & cut feature and the Happy Fall Digital Stamps set that you can find in my shop, and you can watch the step-by step tutorial in the video below.
Supplies Used in This Project
The following supply list contains affiliate links. I make a small commission if you purchase through these links, and I really appreciate it if you do!
– Happy Fall Digital Stamps + Dielines
– Silhouette Cameo 3 Electronic Cutting Tool
– Silhouette Studio, Designer Edition
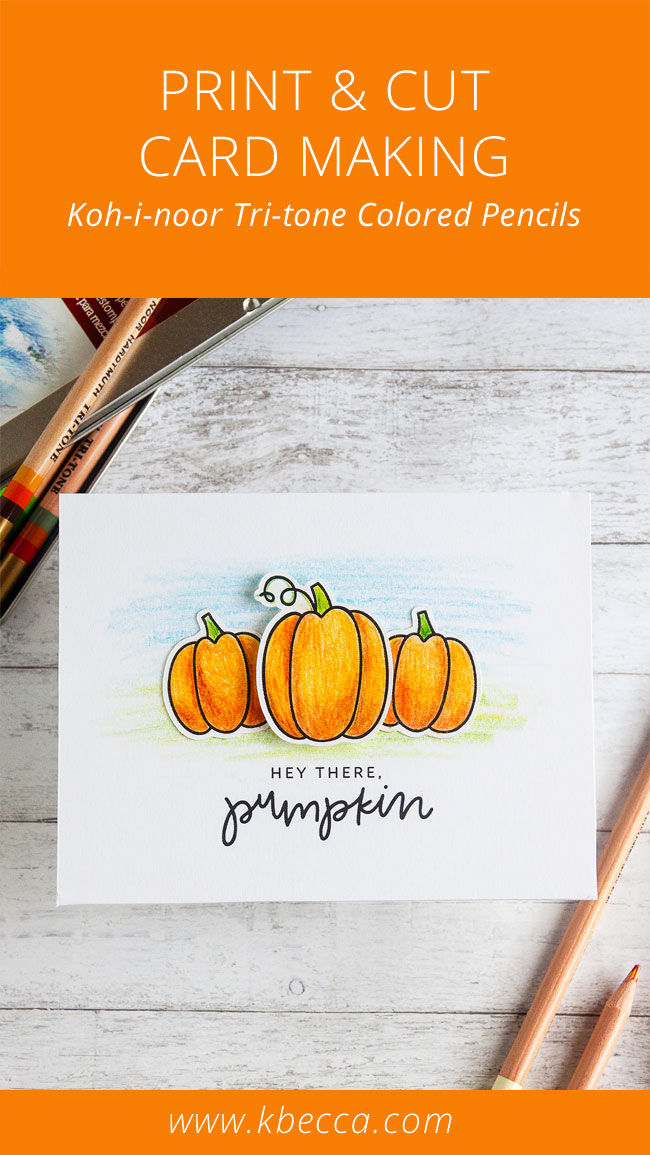
– Koh-I-Noor Tri-Tone Colored Pencils (Set of 12)
– Brother HLL8360CDW Color Laser Printer
– Neenah Solar White 80lb. cardstock
– 3L Foam Adhesive Squares
– Nuvo Clear Drying Craft Glue
– Duck Brand Double-Sided Adhesive Roller

helpful video – thanks!
Europe, and in Ancient Russia
European glory, and even after