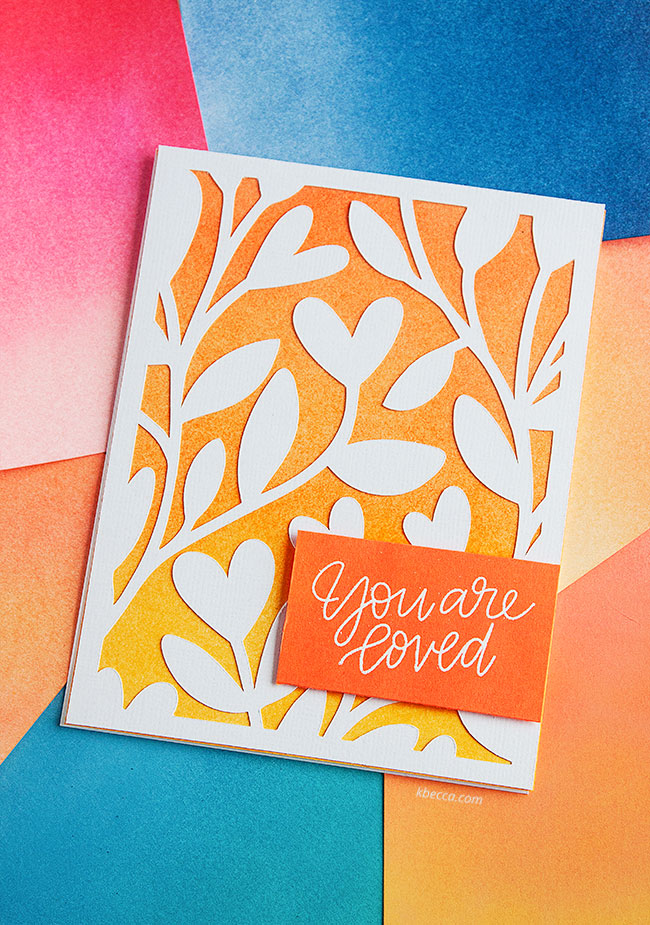
If you’ve struggled with getting nice, smooth ink blending results for your cardmaking projects, then you’re definitely not alone. I’ve never been able to get great results with the popular tools on the market and have been looking for something that would work for me for a while. Part of my problem, I’m sure, is my own. I’m not terribly patient and have had a hard time getting the light, even hand that’s needed to get those great results with the popular ink blending tools. However, I’ve found something that’s been working really great for me, and that something is … makeup blending sponges!
The makeup sponges that I’ve been using are the dense foam, teardrop-shaped sponges that are typically used to apply foundation to the face, and I’m loving the ink blending results that I’m getting with them. Because the sponges don’t have any hard edges, they’re more forgiving, which makes it easier to get smooth ink blending results. Also, the larger sponges have great coverage for larger areas like ink blended card backgrounds. But, if you tend to use ink blending techniques in smaller areas, smaller sponges are also available.
I don’t have a different sponge for every ink or ink color that I use. I just have different ones for the main colors that I use, and sponges for light, medium, and dark tones of colors that I use most often. I’ve been storing them in a plastic box with dividers (I think it was meant for jewelry supplies and things like that), and I label each divided area with a card that has a color that represents what’s on the sponge. If you want a peek at that, I share it in the video.
Check out the video below to see examples of the great results that I’ve been getting:
Supplies Used in This Project
The following supply list contains affiliate links. I make a small commission if you purchase through these links, and I really appreciate it if you do!
– BEAKEY 5 Pcs Makeup Sponge Set Blender Beauty Foundation Blending Sponge
– Strathmore 300 Series Bristol Smooth Pad, 9×12 Sheets
– American Crafts Heidi Swapp Minc Non Stick Mat (a piece of scrap paper would work here, too)
– Ranger Distress Oxide, Peacock Feathers
– Ranger Distress Oxide, Faded Jeans
– Ranger Distress Ink Mini, Dried Marigold
– Ranger Distress Ink Mini, Picked Raspberry
– Ranger Distress Ink Mini, Abandoned Coral
– Rekukos Plastic Jewelry Box Organizer
– paper towels (for blending off ink between colors, if needed)
For the Finished Card
– Botanical Heart Card – A2 & A7 Cut Files (I used the standalone A2 card front cut file)
– a piece of scrap paper (for the sentiment)
– Ek Tools Powder Tool
– Versamark Ink
– Pretty Pink Posh Love Sentiments Stamp Set
– WOW! Opaque Bright White Embossing Powder
– Darice Embossing Multi-Purpose Heat Tool
– Nuvo Deluxe Adhesive
– Scotch Foam Mounting Tape
– white cardstock for the card base
– a stamp block


Great idea using these makeup sponges as blending tools! I have a ton of blending tools from the colorbox stylus, Ranger foam blenders in the rectangle and round shapes, to makeup brushes that look like the expensive picket fence ones, to shaving brushes like you showed, to cut up art sponges to scrapbook.com’s rounded foams for the round ink blender tool. The makeup brushes give a smooth blend, but are too light. The foam blender gives good coverage, but not as easy to get a good blend. I was looking into using the round latex makeup sponges myself and found your blog. How are the sponges holding up since your video? Do you wet the sponges and wring them out before using or use them dry? Thanks again!
This is brilliant and I really appreciate you sharing!