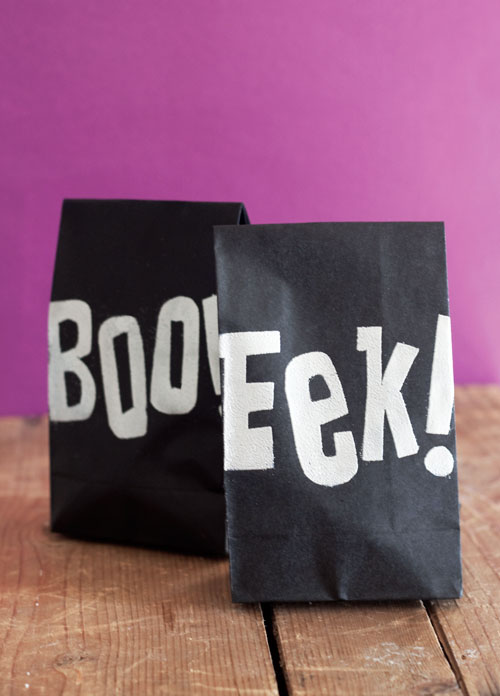
I’ve been having a lot of fun making Halloween treat packaging lately, and this is just my first project in what’s turning out to be a whole series of Halloween packaging projects. These bags are a little big larger than your typical treat bags, so they’ll fit larger items or a bunch of different treats.
In this video, I’ll also show you how to make custom stamps using fun foam (it’s easy – promise!) and the printable Halloween words file that I’ve linked to below. And we’ll work a little magic with silver metallic embossing powder to give the bags a bit of pizzazz. I never get tired of heat embossing.
Tip: If, after you’ve embossed your bags, you’re left with a few bare areas (no ink or embossing powder), then you can use an embossing marker/pen to color over the bare spots and go through the embossing process again. This should take care of those bare areas.
Supplies Used
3 ½” x 6 ¾” Black Paper Sacks (Celebrate It brand from Michael’s)
Printable Halloween Words (download the free printable here)
Craft Foam / Fun Foam
Pencil
Scissors
Bone Folder
White Ink Pad
Scrap Paper
X-Large Acrylic Stamp Block (Inkadinkado) or Cardboard
Double-Sided Tape
Silver Embossing Powder (Martha Stewart)
Embossing Heat Tool (Darice)
Small Paintbrush (optional)
Zig Emboss Writer (optional)
Watch the Metallic Embossed Halloween Treat Bags Video (or check it out on YouTube):


Hi Kristen – great video!