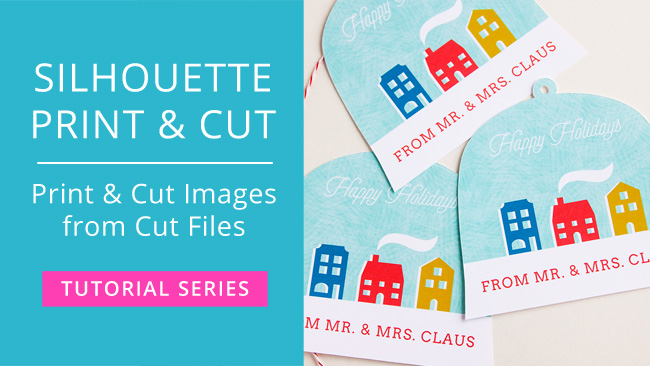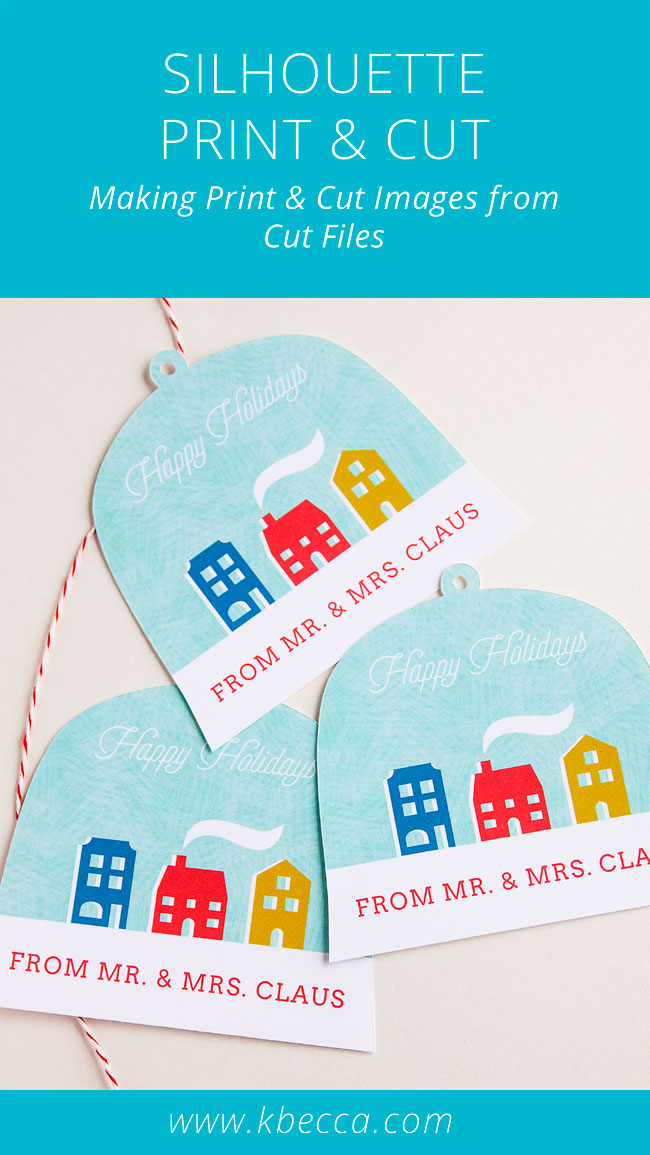
Have you ever wanted to know how to make a print & cut image from a regular cut file? In this video, I’ll show you how!
I’ve touched on this a little bit in a couple of the earlier videos in my Silhouette Print & Cut tutorial series, but in today’s video I’ll be using a more complex file that actually needs to be reassembled, and I think that these are often just the types of cut files that we’re looking to turn into images for print and cut. We’ll even personalize our print & cut gift tags to make them our own!
Tip : The Align options in the Transform panel in Silhouette Studio are super helpful for files that you need to reassamble because you can line the pieces up perfectly for printing and cutting.
Check out the video below for a step-by-step tutorial about coloring and reassembling regular cut files to make print & cut images:
Supplies Used in This Project
The following supply list contains affiliate links. I make a small commission if you purchase through these links, and I really appreciate it if you do!
– Little Houses Snow Globe Cut Files
– Cameo 3 Electronic Cutting Tool
– Silhouette Studio, Designer Edition
– Neenah Solar White 80lb. cardstock
– Canon Pixma iX6520 Printer


“I’m just here for the pictures.” Finally, an admission. Seeing what you’re created is the best part, after all, though watching how you did so is just a bonus feature.
Nothing wrong with enjoying the visuals, Keith. Thanks for stopping by!
Your Silhouette tutorials are absolutely amazing. Thank you.
Thank you so much. I watched make your own color palette too. Both videos were very helpful. You explained all the steps well.