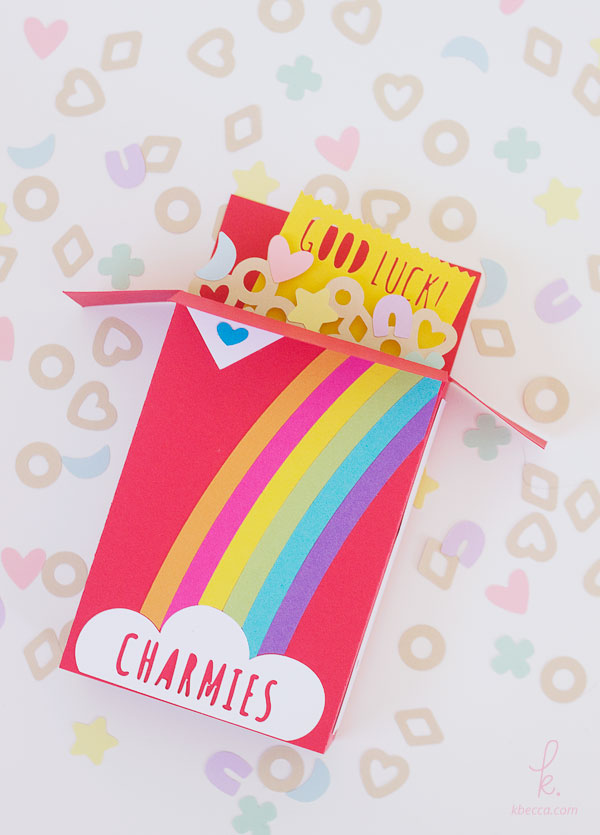
This sweet, cereal-themed box card is a great way to send a “good luck” message to someone you care about, and today I’ll be showing you how you can assemble your own. Can you tell that I had a lot of fun designing this?
How to Make the Charmies Cereal Box Card
Here’s what you’ll need:
- Charmies Cereal Box Card Kit Die Cuts
- Silhouette Cameo
- Colored cardstock
- Double-sided adhesive runner
- Craft glue
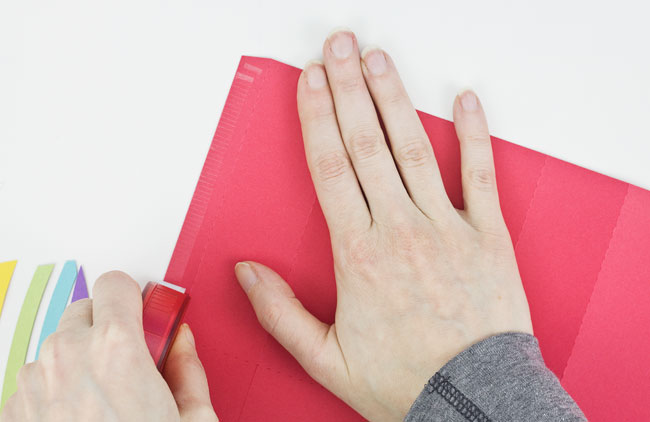
Step 1:
Die cut all of the card kit pieces. Fold the box card base along the score lines, and add double-sided adhesive (or glue) to the short side flap.
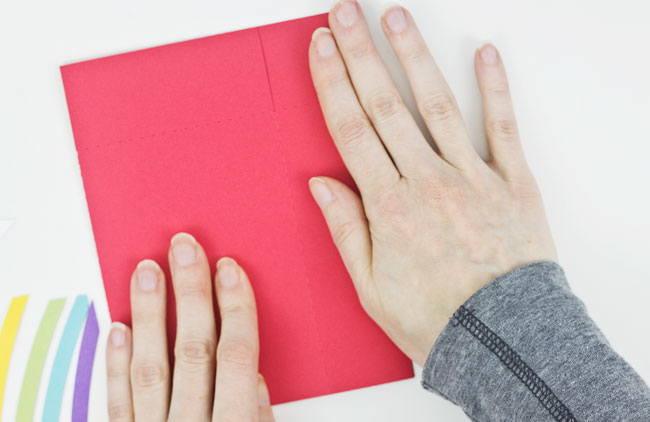
Step 2 :
Fold the short side flap in, line it up with the back right side of the card base, and press the card base flat to adhere.
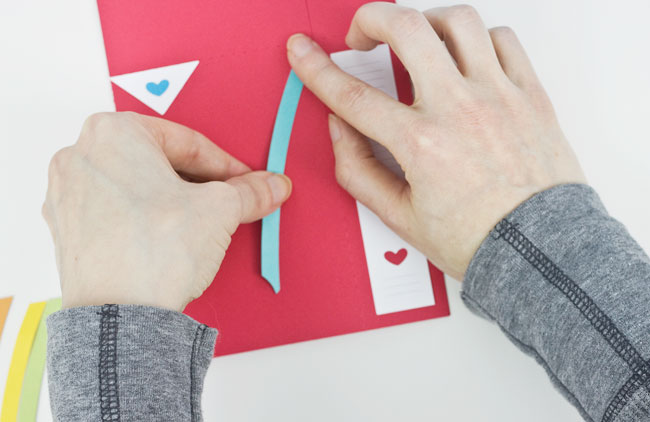
Step 3 :
Attach the side panels, back panel, and cereal box logo (top left corner) to the card base. Attach the first piece of the rainbow element to the front of the card. I attach the corner piece first – in this case, the blue piece – because it makes for much easier placement of the rest of the pieces of the rainbow.
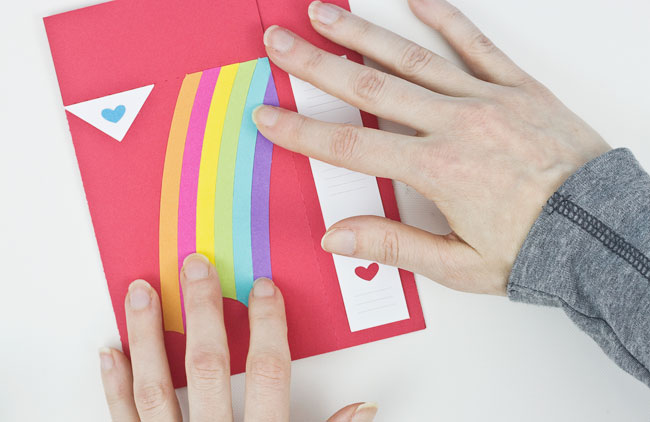
Step 4 :
Attach the rest of the rainbow pieces, taking care to line them up along the top, sides, and bottom. The bottom of the rainbow will start to form the outline of the “charmies” cloud.
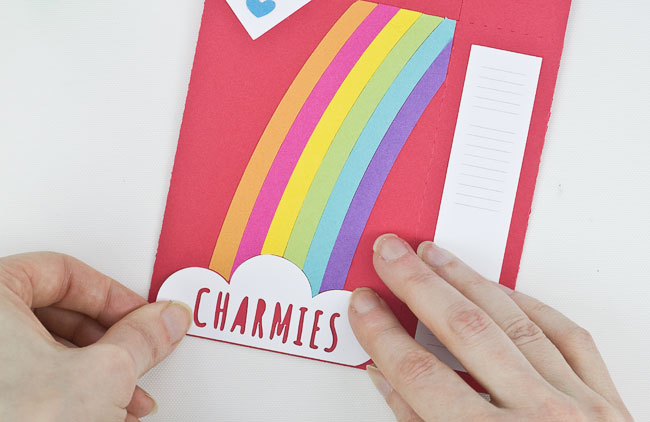
Step 5 :
Attach the cloud piece to the bottom of the card.
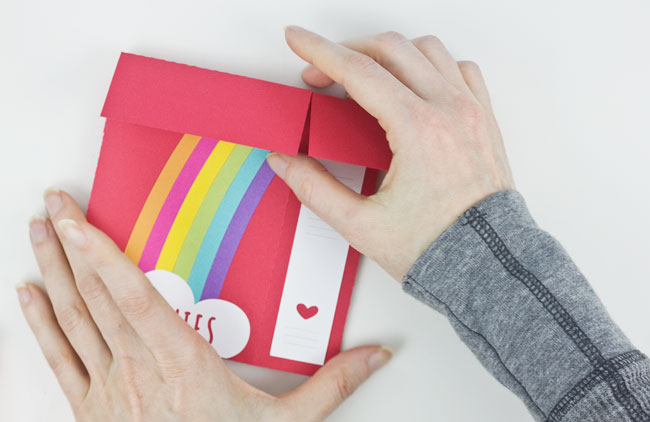
Step 6 :
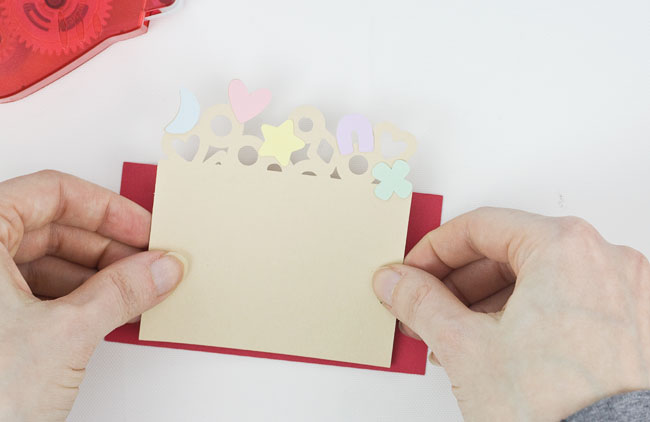
Fold down the scored flaps at the top of the card.
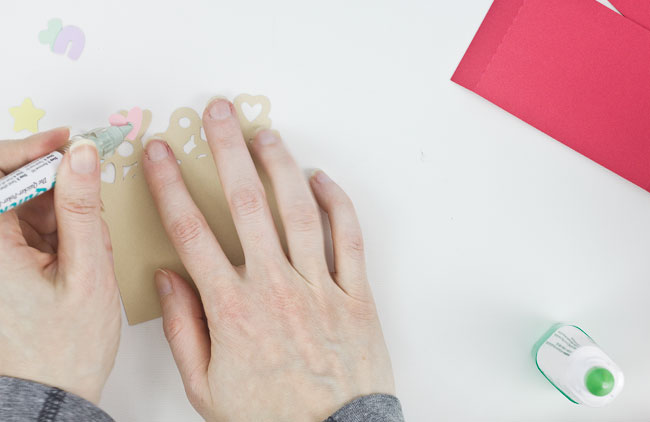
Step 7 :
Fold the rectangular card inserts (2) along the score lines and set aside. Attach the marshmallow charm pieces to the cereal piece.
Step 8 :
Attach the finished cereal piece to one of the rectangular card inserts.
Step 9 :
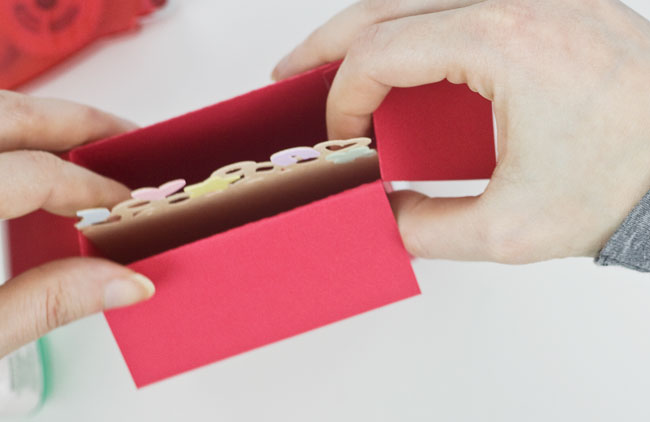
Add glue or double-sided adhesive to the side flaps of the card insert, fold them back, and carefully lower the insert into place inside of the card. I positioned it about 3/8” from the front of the card, but you can place it wherever you like it best. Press the insert flaps against the sides of the card base to adhere.
Step 10 :
Experiment with where you want to place the “good luck” ticket piece before you attach it to the second card insert piece. I wanted mine to be at a bit of an angle, but you can angle yours however you’d like. The only thing that you’ll want to make sure of is that your finished card will still fit your envelope.
Step 11 :
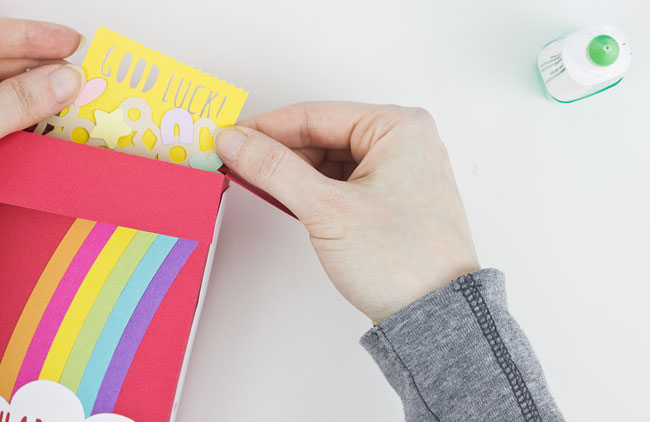
Attach the “good luck” ticket to the second card insert and position the insert inside your card in the same way as in Step 9. I placed the second insert pretty close to the first, about 1/4” or so behind it. Press the card flat to adhere the insert and to make sure that the ticket doesn’t stick out beyond the card too much if you’ve angled it.
Step 12 :
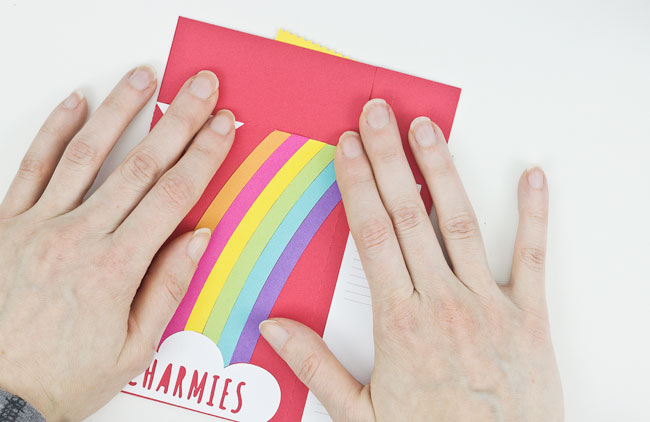
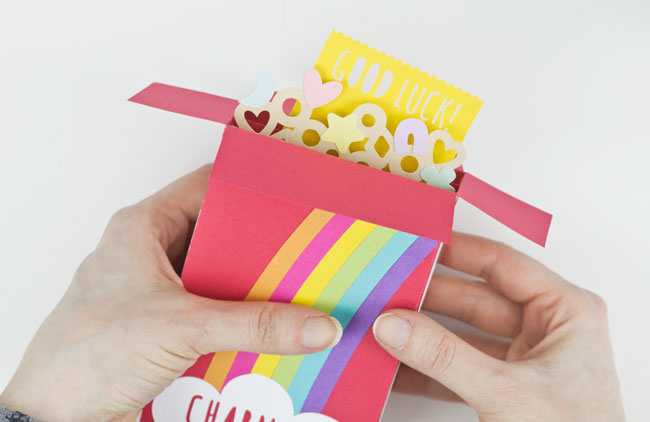
Open the card to test its movement and to make sure that everything is properly positioned.
Aaaaand you’re finished!
This post originally appeared on k.becca.
