This project gave me an excuse to use the Deco Foil Peel ‘n’ Stick Toner Sheets, which foiled and cut so nicely. I’ve used the Minc Toner Sheets, which are thinner and slightly less glossy than the Deco Foil sheets, but I got great results with both.
Re: paper thickness – it’s really not an apples to apples comparison since the Minc sheets don’t have the added thickness of an adhesive backing sheet, but I do prefer working with the Deco Foil sheets because it’s nice to already have the adhesive sheet in place, as opposed to having to manually add it. Either way, I’m very happy with the results with both the Deco Foil and the Minc toner sheets, and they offer so many possibilities for making custom embellishments for cards, scrapbook pages, and other paper craft projects.
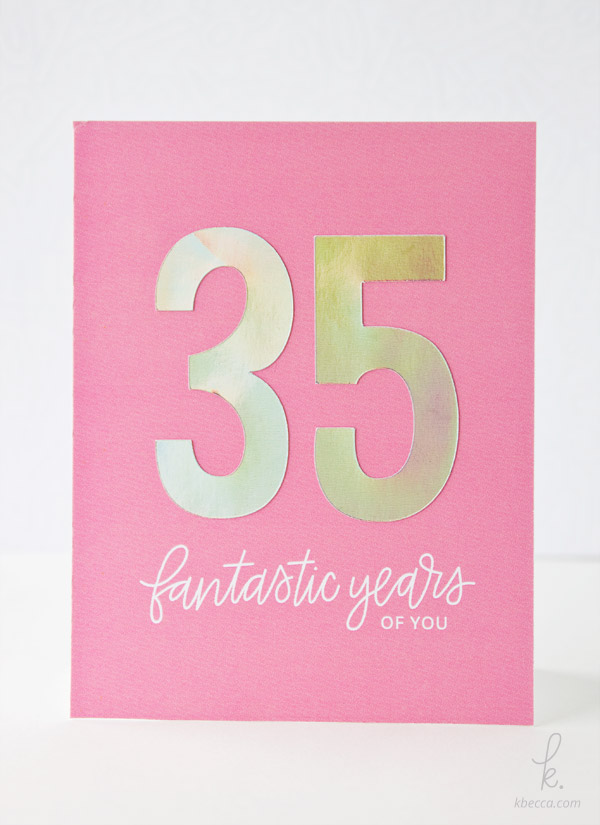
The photo above really doesn’t do justice to how awesome the foil looks on the card. Check out the step-by-step tutorial below to see better shots of the foil from different angles. Much iridescent coolness happening!
Supplies Used in This Project
The following supply list contains affiliate links. I make a small commission if you purchase through these links, and I really appreciate it if you do!
AMZ = Amazon.com SBK = Scrapbook.com DKB = Dick Blick SSS = Simon Says Stamp
Happy Birthday Digital Patterns (coming next week!)
Birthday-versary Digital Stamps + SVG Die Cuts
Birthday-versary Numbers Die Cuts
Silhouette Cameo ( AMZ // SBK )
Silhouette Studio, Designer Edition ( AMZ // SBK )
Neenah Solar White 80lb. Cardstock ( AMZ // SSS )
Heidi Swapp Minc 12″ ( AMZ / SBK ) – this is what I have
Heidi Swapp Minc 6″ ( AMZ / SBK )
Deco Foil Peel ‘n’ Stick Toner Sheets ( AMZ )
Thermoweb iCraft Iridescent Deco Foil ( AMZ / SSS )
a printer
a double-sided adhesive runner
DIY Iridescent Foil Birthday Card – Heidi Swapp Minc + Silhouette Studio Tutorial
(click on any of the screenshots below to see at a larger size)
")
Step 1 : Open the Birthday-versary Digital Stamps + SVG Die Cuts file in Silhouette Studio (I’m using the Designer Edition). Use Object > Ungroup to ungroup into different elements. Then, select the “fantastic years” and “of you” elements (Shift + Click to select multiple elements) and copy with Ctrl / Cmd + C. Open a new file and paste the elements using Ctrl / Cmd + V.
")
Step 2 : You’ll see that the SVG borders (in red) are still around the elements. Use Object > Ungroup to ungroup the SVG borders from the main elements. After doing so, you’ll be able to move the elements independent of the borders.
")
Step 3 : Move the “of you” element to underneath the “fantastic years”. When you’re happy with the placement of the elements, use Ctrl / Cmd + G to group them into one element.
")
Step 4 : Use the “Draw a Rectangle” tool (left menu) to draw a rectangle. I want a rectangle that’s the size of an A6 card front (4.25″ wide by 5.5″ tall), so I’ll resize the rectangle that I drew by opening the “Scale” window from the top right menu and resizing the rectangle to the exact size that I want.
")
Step 5 : Click and drag the “fantastic years of you” sentiment to the bottom center of the rectangle. Select both the rectangle and the sentiment, and open the “Align” window (top right menu). Click “Align Center” to center the sentiment horizontally.
")
Step 6 : Next, we want to give the rectangle, which will be our card background, some color. I’ve loaded all of the solids from the Happy Birthday digital patterns set into Silhouette Studio (see more about how to do that here), and I’ll select the rectangle and choose the “Fill Pattern” window from the top right menu. Then, I’ll click the bubblegum pink solid swatch to fill the rectangle shape with color.
")
Step 7 : Click the sentiment to select it. Then, open the “Fill Color” window from the top right menu and click the white swatch to change the sentiment’s color to white. I went with a pink and white color scheme for my card, but you can choose any pattern and fill colors that you’d like. Lots of possibilities!
")
Step 8 : The file is just about ready to print, but before we do that we’ll need to set up the registration marks. Open the “Registration Mark Settings” window from the top right menu and choose Type 1 (if you’re using a Cameo or Portrait) from the registration mark dropdown. You’ll see the marks appear around the edges of the page. Select the rectangle and sentiment and move them to an area inside the marks. Then, print and cut the file.

Step 9 : After printing and cutting the card background, we’re ready to make the big, iridescent foil numbers. Look at how cool that foil looks! First, we’ll foil a Deco Foil Peel ‘n’ Stick Toner Sheet by cutting it down to a smaller size, placing a sheet of iridescent Deco Foil (shiny side up) on top of it (make sure that the foil sheet it larger than the toner sheet so you don’t get foil on your carrier sheet), and running it through the Minc (I used a heat setting of 4).
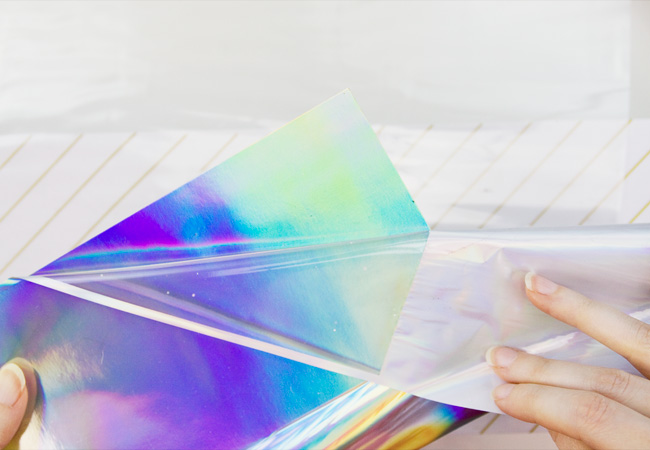
Step 10 : After running the sheet through the Minc, peel the foil sheet from the toner sheet to reveal a custom, foiled sheet. Oooh, pretty foil.

Step 11 : I resized numbers from the Birthday-versary Numbers Die Cuts set to 200% and cut them from the foiled, adhesive toner sheet with a Silhouette Cameo.
Silhouette Cameo cut settings for foiled Deco Foil Peel ‘n’ Stick Toner Sheets : Depth = 8 // Speed = 3 // Thickness = 33 // Double Cut
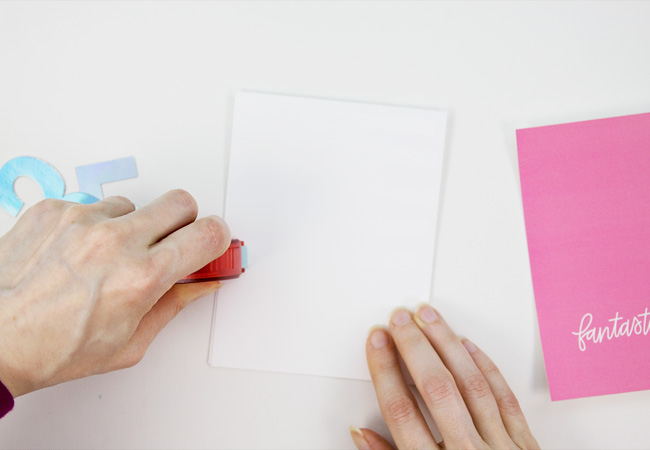
Step 12 : Cover the front of a pre-cut, top fold A6 card base with double-sided adhesive. Line up the print and cut card background over top of the adhesive and press in place to adhere.
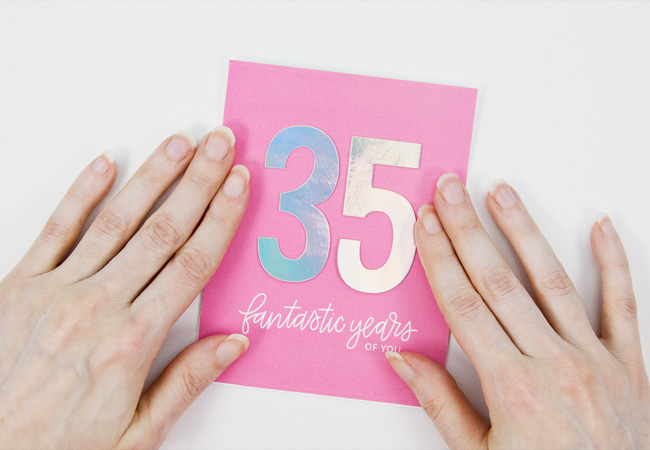
Step 13 : Before I adhere the numbers in place, I want to place them where I want them to be in the final design (protective backing paper still on).
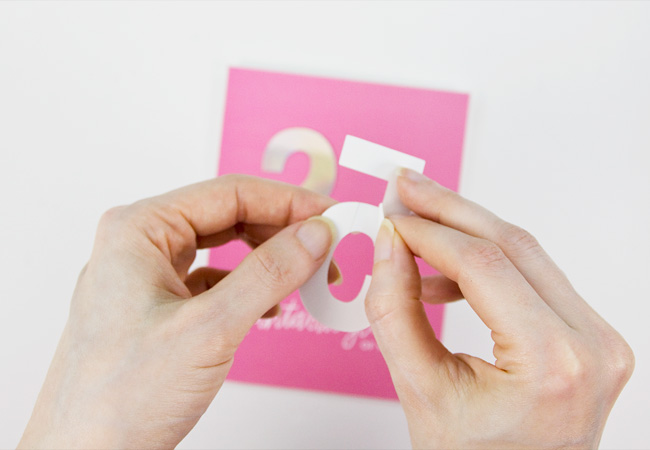
Step 14 : Peel the protective backing paper from the back of the numbers, one at a time, and press into place on the card. And voila, you’re finished!