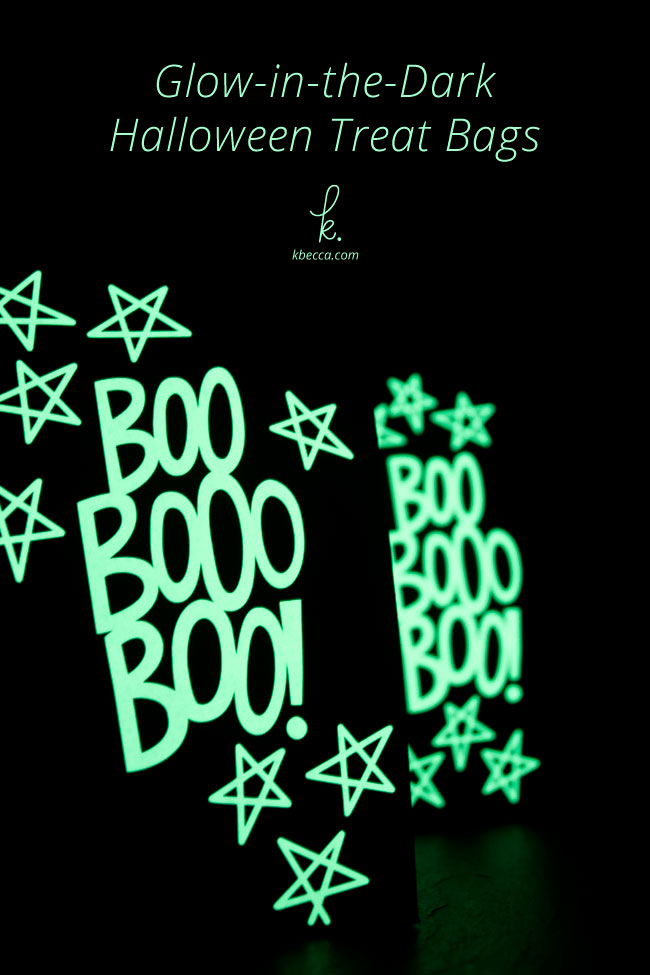
I am all about glow-in-the-dark anything, especially when it comes to Halloween! And these die cut glow-in-the-dark Halloween treat bags are sure to be a hit with the trick or treaters and Halloween partyers who drop by your house during the spookiest season of the year.
If you don’t happen to have a digital die cutting machine, you can trace shapes and words onto glow-in-the-dark sticker paper or vinyl and cut out by hand. The process won’t be as quick, but you’ll still get great glow-in-the-dark results.
Check out the step-by-step tutorial below to see how I made these boo-tastic bags!
Supplies Used in This Project
The following supply list contains affiliate links. I make a small commission if you purchase through these links, and I really appreciate it if you do!
AMZ = Amazon.com SBK = Scrapbook.com DKB = Dick Blick SSS = Simon Says Stamp
Silhouette Cameo ( AMZ // SBK ) – or any digital die cutting machine that works with SVG, DXF, or GSD files
Silhouette Glow-in-the-Dark Printable Sticker Paper* ( AMZ // SBK )
black party or treat bags (I used Celebrate It brand from Michaels)
an embossing stylus or weeding tool (optional)
* Glow in the Dark Vinyl ( AMZ // SBK ) will work, too
DIY Glow in the Dark Halloween Treat Bags
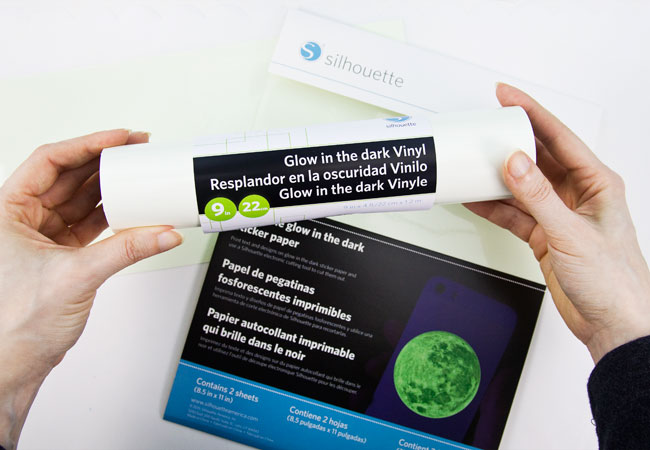
Step 1 : In Silhouette Studio, open your cut files and resize them (if necessary) to fit your treat bags. Cut the files from Silhouette Glow in the Dark Printable Sticker Paper or Glow in the Dark Vinyl using the settings specified in the materials dropdown in Silhouette Studio. I cut the “boo” words and a bunch of stars from the This is Halloween Die Cuts set for my treat bags.
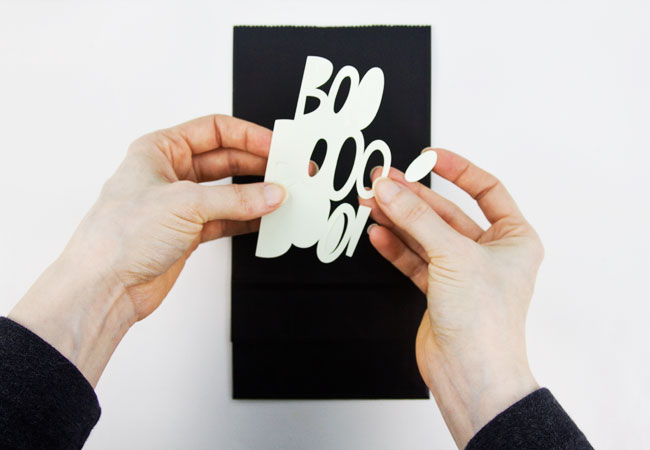
Step 2 : Peel the cut shape from the sticker paper or vinyl and weed out any areas that you don’t want to included in the finished design.
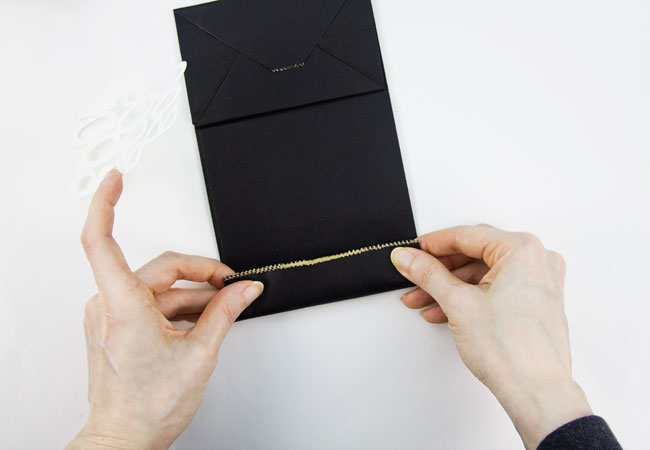
Step 3 : Turn the bag over and fold a flap about an inch high so you can seal the bag closed with a label or sticker or piece of tape after filling it with treats.
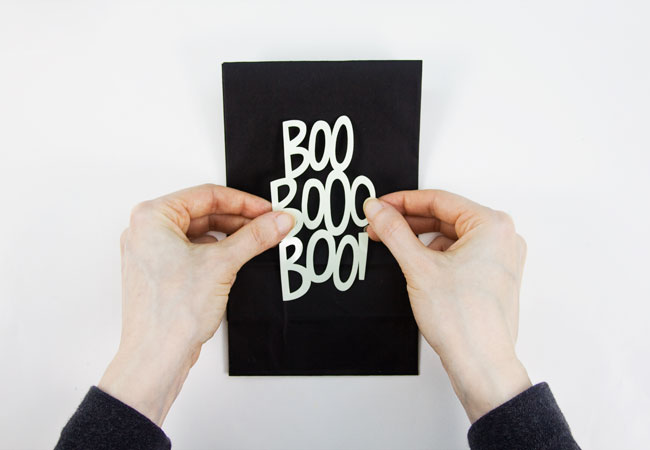
Step 4 : Turn the bag back over to the front and center the “boo” die cut over top of the bag. Press in place to adhere.
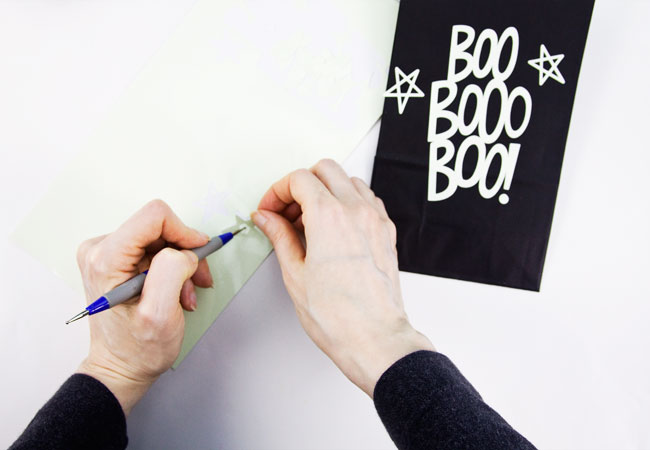
Step 5 : After the “boo” die cut is adhered in place, remove the stars from the sheet of sticker paper and adhere those around the “boo” to further embellish the bag. Pressing down on the interior (unnecessary) parts of the star shapes with an embossing stylus or weeding tool as you’re removing them from the sticker paper speeds up this part of the process.
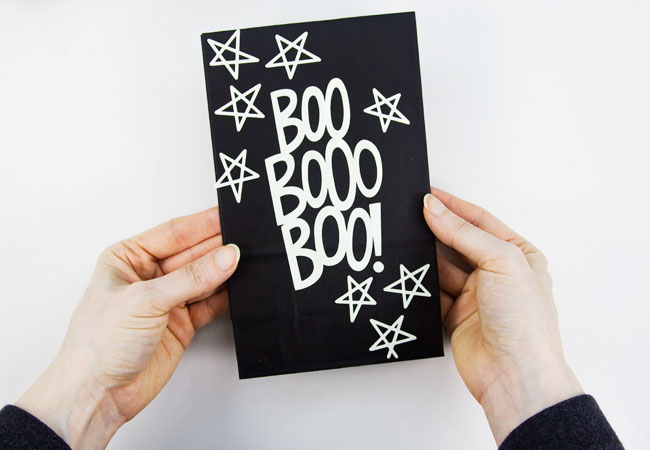
Step 6 : After you’re finished embellishing the bag, fill it with treats and goodies and seal it closed with one of the star stickers or a label / washi tape. When it’s time to give out the bags, you can “charge” the glow in the dark sticker paper under a light for about 30 seconds for super duper strong glowing action!
