I can’t believe that I waited this long to try out the Silhouette adhesive magnet paper. Guess that I’m always a bit apprehensive about working with a new medium, but I don’t know why I was in this case because this stuff seriously rocks.
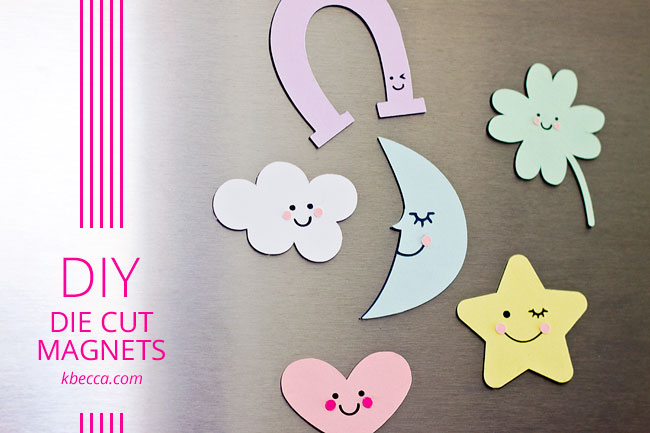
Today I’ll be showing you how you can easily turn your die cuts into super fun fridge magnets with just a bit of additional cutting. But let me warn you that it’s addictive. I’ve been wanting to turn everything into a magnet since I made these!
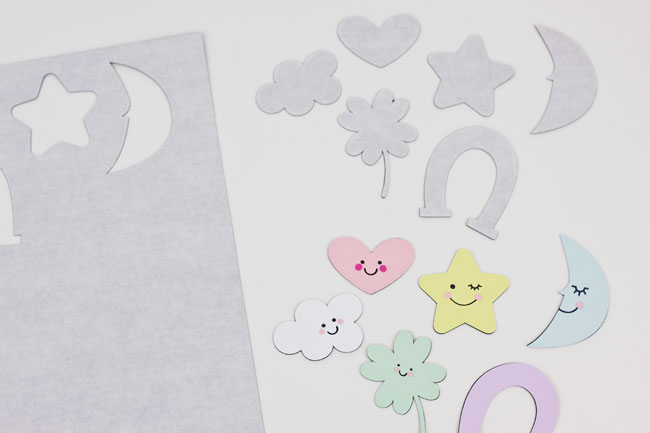
Note: When I cut the magnet paper, I used the recommended settings in Silhouette Design Studio, and it cut with no problem at all. There was just one extra bit of the magnet paper left on the pointed indentation on one of the four leaf clover’s leaves – undoubtedly my fault for being impatient and trying to remove the shapes from the piece of magnet paper too quickly – but I was able to remove it cleanly by gently pulling it from the clover piece.
Make Die Cut Magnets with a Silhouette Cameo
Here’s what you’ll need:
- Charms Die Cuts
- Colored cardstock
- Silhouette Cameo
- Silhouette adhesive magnet paper
Step 1 :
Cut your die cuts from cardstock and assemble them. Cut the base of each shape twice, once from cardstock (I used black so the faces would stand out) and once from adhesive magnet paper.
Note: The Charms die cuts come with a face piece and a base piece, so you won’t need to make any adjustments in Design Studio to cut the base shapes; however, if the die cut that you’re using doesn’t have a base piece, then you can simply ungroup the shape and remove any of the details that you don’t want to cut on the base before you send it to the machine for cutting.
Step 2 :
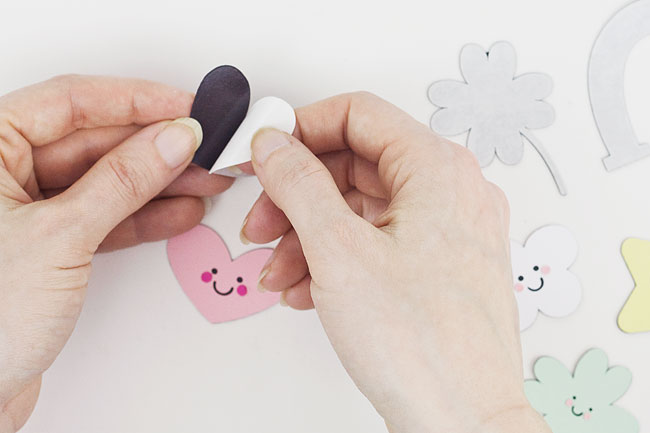
Remove the adhesive backer piece from the magnet base shape.

Step 3 :
Line the base shape up behind the die cut and press firmly to adhere. Pop your magnet onto the fridge and enjoy!
This post originally appeard on k.becca.
