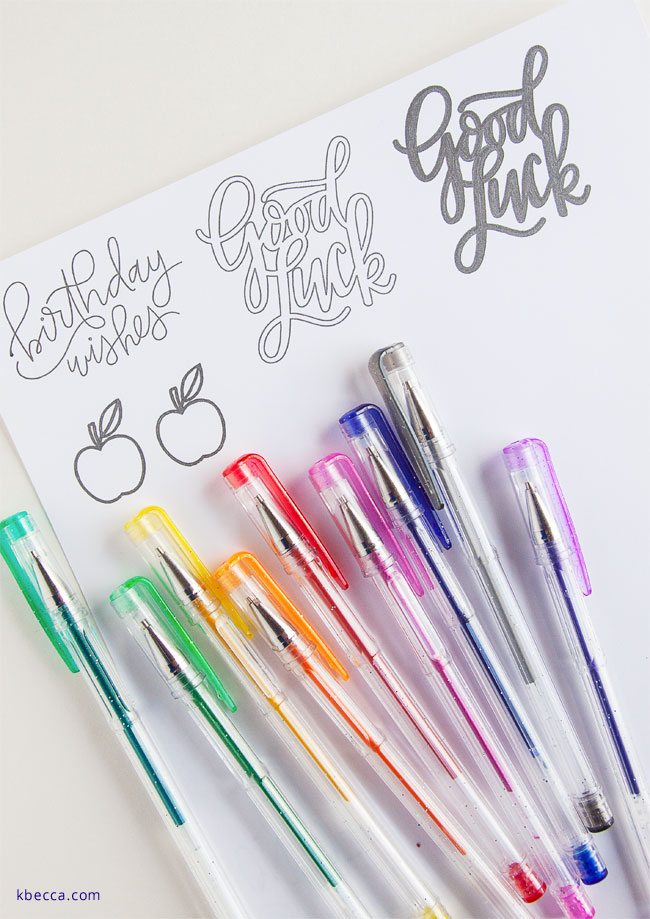
Sketch files for digital cutting machines are a smaller sub-niche within the larger SVG file category, and these files work with sketch pens, gel pens, markers and, more recently, the We R Memory Keepers Foil Quill to create everything from sentiments to ornate patterns and designs.
In the video below, I’ll talk about the major differences between sketch files and regular cut files and show you how you can use BOTH for sketching with your digital cutting machine. There’s so much that you can do with these files in cardmaking, paper crafts, and more!
The main difference between sketch files and regular cut files is that, with sketch files, the thin lines that make up the design ARE the design. With regular cut files, the thin lines in the design create the BORDER of the design. Regular cut files need to be bolder and open enough to be cleanly cut from vinyl, paper, and other materials, so there tends to be a good bit of interior white space in these designs. Silhouette Studio offers multiple options to fill that white space for sketching, if you desire to do so. I’ll show you a quick tour of Silhouette Studio’s Sketch Panel and share a step-by-step tutorial for creating sketch fills for cut files using the Internal Offset feature, too.
Check out the video below for the step-by-step walkthrough:
Supplies Used in This Project
The following supply list contains affiliate links. I make a small commission if you purchase through these links, and I really appreciate it if you do!
– Handwritten Birthday Sketch Files
– Silhouette Cameo 3 Electronic Cutting Tool
– Silhouette Studio, Designer Edition
– Chomas Creations Adjustable Marker Holder for Silhouette
– Bazzill Smoothie Cardstock, Coconut Swirl
– Smart Color Art Gel Pen (see my review here – the set that I have is no longer in stock, but this brand has other sets available)


