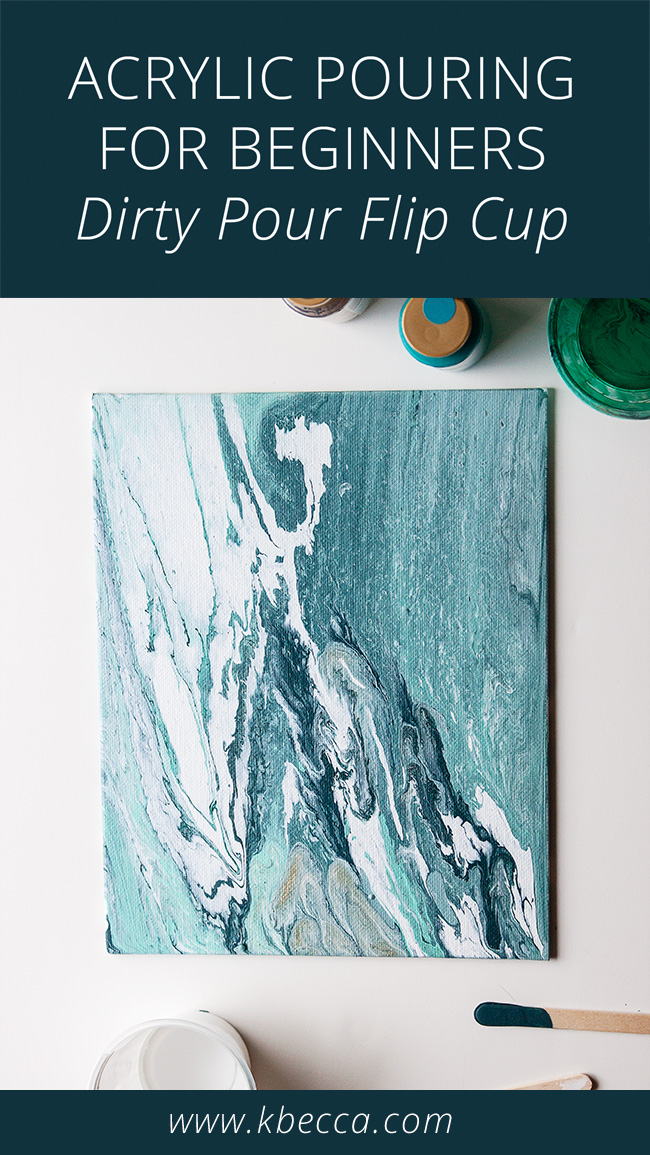
In a previous video about acrylic pour painting for beginners, I took you on a step-by-step walkthrough of all of the tools and supplies that I use when making my own acrylic pour paintings and showed you a very basic technique for creating them. In this video, I’ll show you how to make an acrylic pour painting using the dirty pour flip cup technique. There’s no dirt involved, I promise!
The dirty pour flip cup technique is one of my favorites for making pour paintings, and it’s super easy to do. You just pour all of the paint colors that you’re using for your painting into one cup, flip the cup onto your canvas, lift the cup, and go. It’s that simple!
I like to allow the cup with the paints in it to sit on the canvas for 15 to 20 seconds before lifting it (you’ll see me do this in the video below), and I also like to leave a little bit of paint in each individual cup in case I want to add it to the painting later (I do this for all of my acrylic pour paintings, not just paintings made using the dirty pour flip cup technique).
Check out the video below for a step-by-step tutorial on the dirty pour flip cup technique:
Supplies Used in This Project
The following supply list contains affiliate links. I make a small commission if you purchase through these links, and I really appreciate it if you do!
Husky Plastic Sheeting (or a large garbage bag / old newspapers / a bunch of plastic grocery bags / a painter’s dropcloth)
Foil Cookie Tray (to catch most of the excess paint as it runs off the edges of the painting – I purchased a set of 2 for $1.00 at the dollar store)
Vinyl Gloves (if you don’t want to be cleaning acrylic paint from under your fingernails for days, then use gloves – I buy mine by the box at Walmart in the cleaning supplies aisle)
Acrylic Craft Paints (in the video, I used Martha Stewart Wedding Cake & Beach Glass, Folk Art Aqua, Ceramcoat Black, and Decoart Champagne Gold craft paints)
Pouring Medium (I make mine with a 1:1 ratio of Elmer’s Glue All and water)
Squeeze Bottle (I put the glue and water into this and shake it up until they’re well mixed. The squeeze bottles are a really easy way to dispense your pouring medium, and you can just put the cap back on when you’re not using so it doesn’t dry out)
Food Service Portion Cups (to hold the paint / pouring medium mixture – you can use any small plastic cups for this, or you can save yogurt containers or even plastic cat food containers and use those)
Wood Craft Sticks (to stir the paint / pouring medium mixture – I picked up a package of 100 for $1.00 at the dollar store, and once the paint is completely dry on them, you can reuse them)
Art Alternatives 8×10 Canvas Panels (if you want to hang your paintings on the wall, you should use a regular canvas, but I like these panels and buy them by the dozen from Amazon)
Plastic Shot Glasses (to raise the canvas off of the work surface so the paint can flow off the edges after you pour – I bought a package of 24 plastic shot glasses for $1.00 at the dollar store, but you can use food service containers, plastic yogurt containers, cat food containers, or even a small box under the canvas)
Happy pouring!

YOU DO A BEAUTIFUL JOB EXPLAINING THE ART.
Thank you, Laurie, and so sorry for just replying now!
I love it and simple I have made I don’t know how many in the 1st one I made I used absolutely nothing but pain on a pretty good size canvas and didn’t cover the whole edges and I was in a trash it that everybody 11 and since then I have wasted away 6 of the smallest board you can yet not campus and power for 5 of the others just didn’t turn out I can’t get the consistency to ram by all the videos I watch even though I’m using
Thanks, now I know what supplies to get. I’m just beginning my paint pouring journey!
My sister died recently and I want to find my joy. I think this is it!
So thank you for being a part of this.
Every interested and informative. Thank you very much
We have a Home Depot and found a craft flowing medium and another bottle or gloss you add afterwards. It was in the paint department … pouring medium,… 2:1 just really never thinned real well seemed like I added a lot.
I just used this with my acrylic paints to a thin pouring… I poured and I never got the cells… or the flow like I see in some of your work or others…. looked more like mixed up paint….
Could it be that medium.
I used a hair dryer also instead of torch… is this needed to get those cells…. saw on someone tube and they said hair dryer was okay as long as it’s not touching real close…
maybe I should get elmers or floetral.??????
Joan – I can’t say for sure, but it does sound like the issue is the medium. You may want to try adding a little bit of water to see if you can thin it down to a pouring consistency, or you can try the Elmer’s glue / water DIY pouring medium or Floetrol. I’ve had great results with both.
I haven’t used a torch or hair dryer on any of my paintings yet, so I can’t give you any advice on it. But I’ve seen people use both effectively.
Can I add metallic paint after the original pour is done? Maybe when it is dry?
Thank you for this very informative video. You have given me the confidence to try it for myself. Again, Thank you.
Cheers Anne.
Hi Kristen, what is the type of rubbing alcohol that you are using, please?
Hi, Anne! I’m so glad that you enjoyed the video. I use 91% isopropyl rubbing alcohol for this.
What did you add the alcohol too
Love it. Can’t wait to try it.
You did a great job explaining this project. Thank you so much for getting straight to the point and not rambling on and on!
If we use light colors do we need to protect it with a uv spray? I don’t want it to crack or fade from sun exposure?
Great video!! Especially for first time users.
Thank you
Great pour painting.
Hi Becca,
When it comes to cells, I don’t think I have ever seen this covered. I get small cells and they either leave a blank spot on the canvas where they form, or, there is a blank spot with a dot in the center. I never get the big, pretty cells I see on others paintings. Please give me any advice you might have for this.
Thanks for making things easy for us new learners!
Will try. This pour soon. How many different colors do you usually use? Kar
Very interesting video .
Very interesting and informative
Beautiful!!! I am going to make this soon. I loved your detailed instructions.